Running Dedicated Clusters with vCluster: A Technical Deep Dive into Private Nodes

Aug 19, 2025
|
6
min Read

Virtual clusters have emerged as a powerful way to achieve multi-tenancy and resource efficiency within Kubernetes. vCluster, in particular, has gained significant traction for its lightweight and flexible approach. With the introduction of Private Nodes, vCluster now takes isolation to a whole new level. Forget shared worker nodes – we're talking dedicated compute for your virtual clusters!
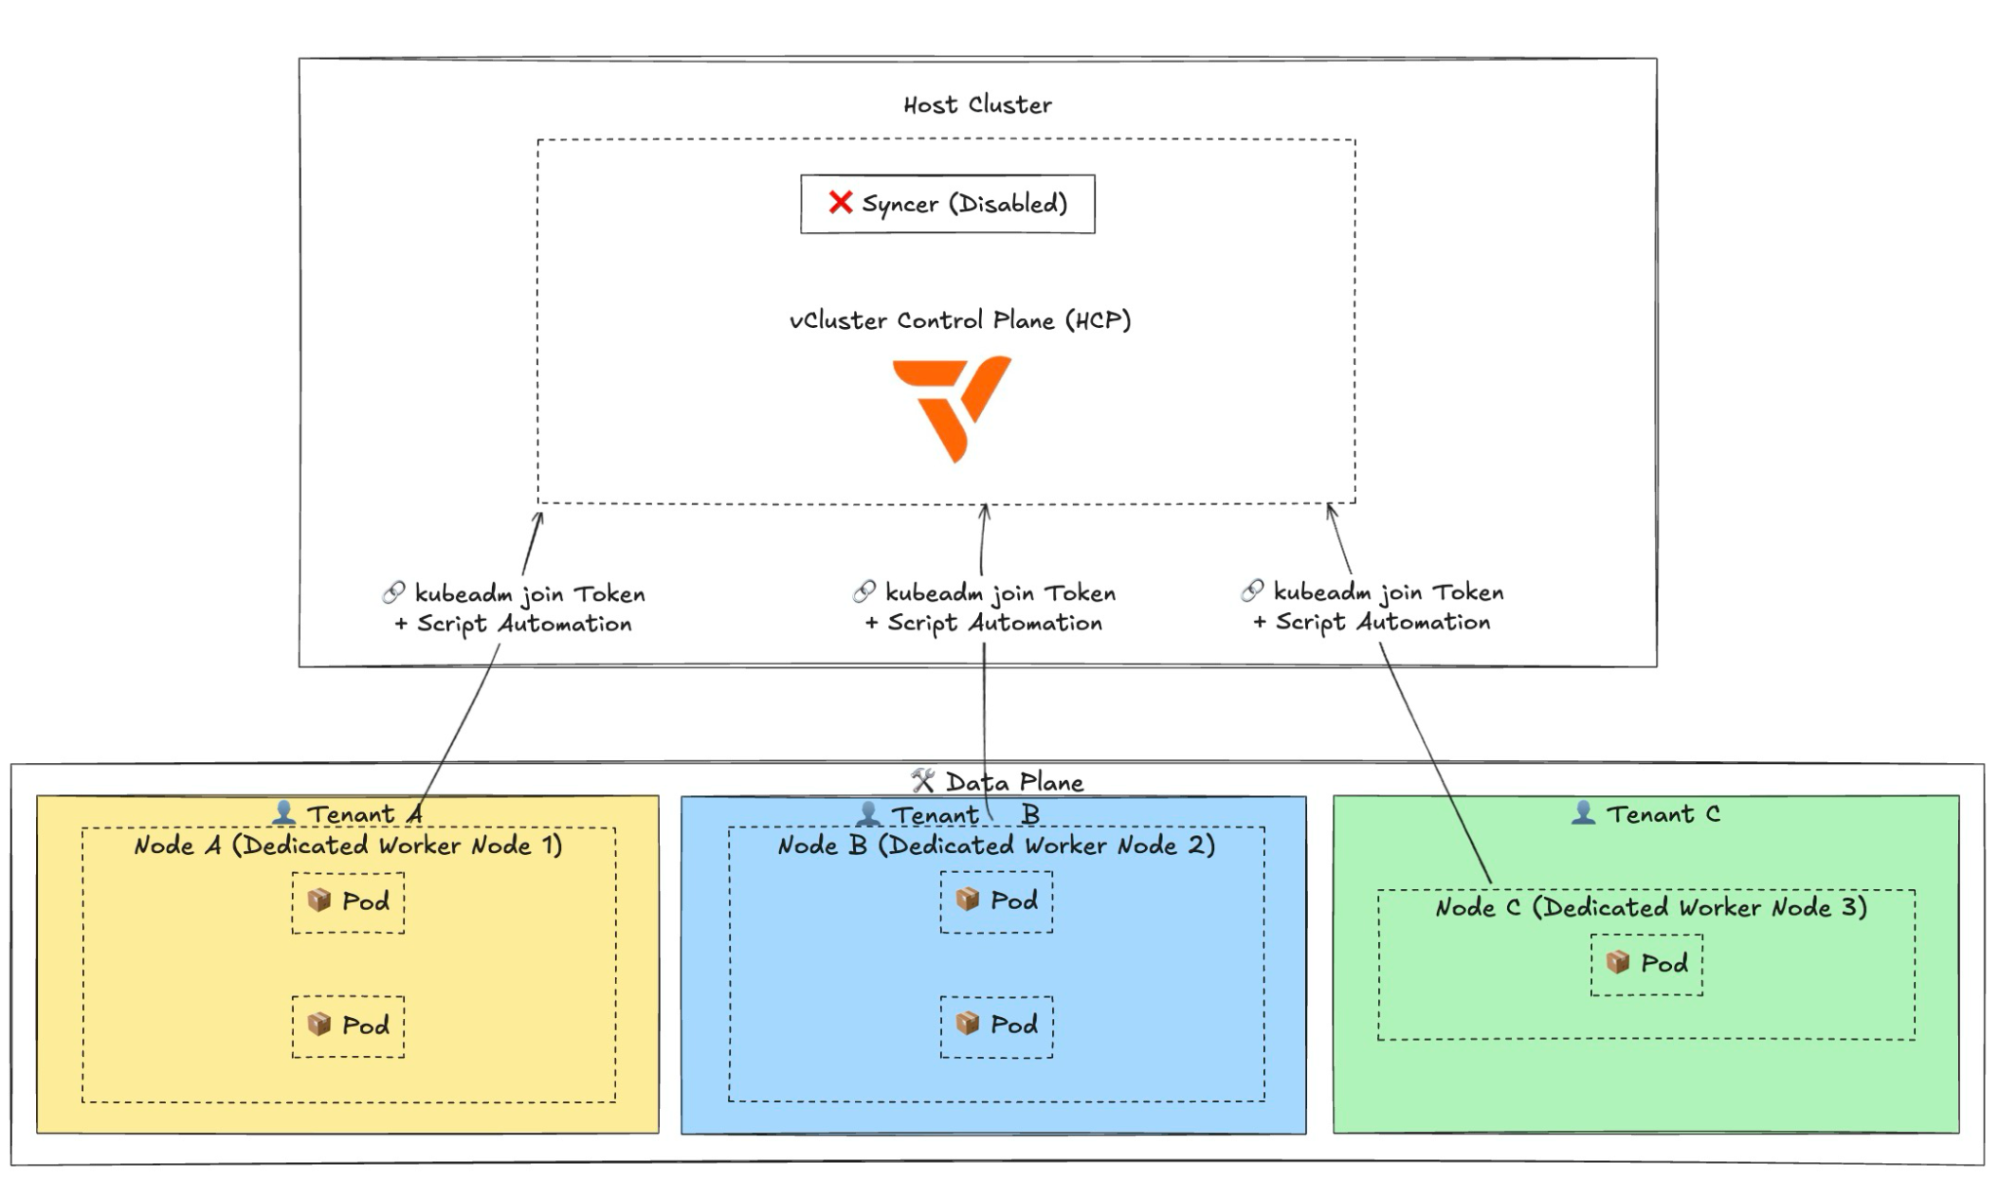
Normally, vCluster schedules workloads onto shared host cluster worker nodes, syncing resources between the virtual and host clusters. However, there are cases where you may want a tenant to have a completely separate cluster with an isolated control plane and data plane.
Think of it like a managed Kubernetes service: you have a control plane and then you add a node pool. When you download the kubeconfig file and run kubectl get nodes, you see only the worker nodes and not the control plane. That’s what an isolated control plane means.
With the latest vCluster release, you can now create an isolated vCluster control plane running on a host cluster and then join worker nodes to it separately. This keeps tenant workloads completely isolated from each other, there's no syncer involved, and all scheduling and decision-making happens within the virtual cluster itself.

Before we begin the demonstration, ensure you have the following:
Below are two Ubuntu instances created on the cloud, and I already have a Kubernetes cluster (can be any Kubernetes cluster):
First, create a vcluster.yaml configuration file with the privateNodes.enabled flag set to true: This tells vCluster that we want to use dedicated worker nodes.
Create a file named vcluster.yaml with the following content:
# vcluster-private-nodes.yaml
privateNodes:
  enabled: true

controlPlane:
  distro:
    k8s:
      image:
        tag: v1.32.0  # Kubernetes version
  service:
    spec:
      type: LoadBalancer  # Expose control plane for worker nodes

networking:
  podCIDR: 10.64.0.0/16
  serviceCIDR: 10.128.0.0/16
privateNodes.enabled: true: This is the crucial line that enables the Private Nodes feature.controlPlane.service.spec.type: LoadBalancer: We're exposing the vCluster control plane using a LoadBalancer as it provides a stable endpoint for our private nodes to connect to.networking.podCIDR and networking.serviceCIDR: Define the network ranges for pods and services within your virtual cluster. Choose ranges that don't conflict with your host cluster or other networks. Now, deploy the vCluster using the vCluster CLI:
Note - make sure you are logged into vCluster Platform as this is an enterprise feature.
vcluster create my-private-vcluster -f vcluster.yaml
This command will create the control plane of your virtual cluster named my-private-vcluster in your host cluster. Wait for the vCluster control plane to become ready.
You can check its status using kubectl get pods -n vcluster-my-private-vcluster.
kubectl get nodes
NAME                   STATUS   ROLES    AGE     VERSION
pool-u8zj18ams-l0hg6   Ready    <none>   6d11h   v1.33.1
pool-u8zj18ams-l0hga   Ready    <none>   6d11h   v1.33.1
pool-u8zj18ams-l0hgt   Ready    <none>   6d11h   v1.33.1
Command:
vcluster create my-private-vcluster -f vcluster.yaml
Output:
17:12:00 info Using vCluster driver 'helm' to create your virtual clusters, which means the vCluster CLI is running helm commands directly
17:12:00 info If you prefer to use the vCluster platform API instead, use the flag '--driver platform' or run 'vcluster use driver platform' to change the default
17:12:02 info Creating namespace vcluster-my-private-vcluster
17:12:07 info Create vcluster my-private-vcluster...
17:12:07 info execute command: helm upgrade my-private-vcluster /var/folders/5w/grc9pwq910s_cglf5wc132yw0000gn/T/vcluster-0.27.0-rc.3.tgz-449383372 --create-namespace --kubeconfig /var/folders/5w/grc9pwq910s_cglf5wc132yw0000gn/T/1576741944 --namespace vcluster-my-private-vcluster --install --repository-config='' --values /var/folders/5w/grc9pwq910s_cglf5wc132yw0000gn/T/242056233 --values vcluster.yaml
17:12:21 done Successfully created virtual cluster my-private-vcluster in namespace vcluster-my-private-vcluster
17:12:24 info Waiting for vcluster to come up...
17:12:40 info vcluster is waiting, because vcluster pod my-private-vcluster-0 has status: Init:0/1
17:12:50 info vcluster is waiting, because vcluster pod my-private-vcluster-0 has status: PodInitializing
17:13:10 done vCluster is up and running
17:13:10 info Using vcluster my-private-vcluster load balancer endpoint: 209.38.2.3
17:13:11 done Switched active kube context to vcluster_my-private-vcluster_vcluster-my-private-vcluster_do-tor1-k8s-1-33-1-do-2-tor1-1754436987622
- Use `vcluster disconnect` to return to your previous kube context
- Use `kubectl get namespaces` to access the vcluster
Once the cluster is up you will be able to see the vCluster control plane pod running on the host cluster
kubectl get pods -n vcluster-my-private-vcluster
NAME                    READY   STATUS    RESTARTS   AGE
my-private-vcluster-0   1/1     Running   0          3m11s
To allow our worker node to join the newly created vCluster, we need to generate a join token. First, connect to the vCluster:
export VCLUSTER_NAME=my-private-vcluster
vcluster connect $VCLUSTER_NAME

Now, create the join token:
vcluster token create --expires=24h
The output of this command will be a curl command that you need to run on your worker node. It will look something like this:
curl -sfLk https://<vcluster-endpoint>/node/join?token=<your-generated-token> | sh -
Important: The <vcluster-endpoint> will be the external IP or hostname of the LoadBalancer service created for your vCluster. You can find this by running below in the host cluster context:
kubectl get svc -n vcluster-$VCLUSTER_NAME $VCLUSTER_NAME -o jsonpath='{.status.loadBalancer.ingress[].ip}{.status.loadBalancer.ingress[].hostname}'

Make sure your worker node can reach this endpoint.

Now, SSH into your designated worker node and execute the curl command you obtained in the previous step.
In our case it's this:
curl -fsSLk "https://209.38.2.3:443/node/join?token=i5khs5.jlxrnd896vxz80h2" | sh -
This script will:
You'll see output on the worker node indicating the progress of the installation and the attempt to join the cluster.
Command:
ssh -i ~/.ssh/id_rsa root@159.223.206.108
ssh -i ~/.ssh/id_rsa root@143.198.111.118
Before running the join command you will see there are no nodes attached to the virtual cluster.

Let’s run the command:
root@vcluster-private-node:~# curl -fsSLk "https://209.38.2.3:443/node/join?token=i5khs5.jlxrnd896vxz80h2" | sh
Detected OS: ubuntu
Preparing node for Kubernetes installation...
Kubernetes version: v1.32.0
Installing Kubernetes binaries...
Downloading Kubernetes binaries from https://209.38.2.3:443/node/download/i5khs5.jlxrnd896vxz80h2...
.........
.........
Installation successful!
Joining node into cluster...
[preflight] Running pre-flight checks
[preflight] Reading configuration from the "kubeadm-config" ConfigMap in namespace "kube-system"...
[preflight] Use 'kubeadm init phase upload-config --config your-config.yaml' to re-upload it.
W0812 12:33:03.506649    3034 configset.go:177] error unmarshaling configuration schema.GroupVersionKind{Group:"kubelet.config.k8s.io", Version:"v1beta1", Kind:"KubeletConfiguration"}: strict decoding error: unknown field "mergeDefaultEvictionSettings"
W0812 12:33:03.508550    3034 utils.go:69] The recommended value for "clusterDNS" in "KubeletConfiguration" is: [10.128.0.10]; the provided value is: [10.128.221.82]
[kubelet-start] Writing kubelet configuration to file "/var/lib/kubelet/config.yaml"
[kubelet-start] Writing kubelet environment file with flags to file "/var/lib/kubelet/kubeadm-flags.env"
[kubelet-start] Starting the kubelet
[kubelet-check] Waiting for a healthy kubelet at http://127.0.0.1:10248/healthz. This can take up to 4m0s
[kubelet-check] The kubelet is healthy after 501.782164ms
[kubelet-start] Waiting for the kubelet to perform the TLS Bootstrap

This node has joined the cluster:
* Certificate signing request was sent to apiserver and a response was received.
* The Kubelet was informed of the new secure connection details.

Run 'kubectl get nodes' on the control-plane to see this node join the cluster.
Once the process is complete, you should see that the nodes have joined the virtual cluster.

That's it! You have a dedicated private node virtual cluster where your controlplane is running on the host cluster but the nodes are separate from the host cluster.
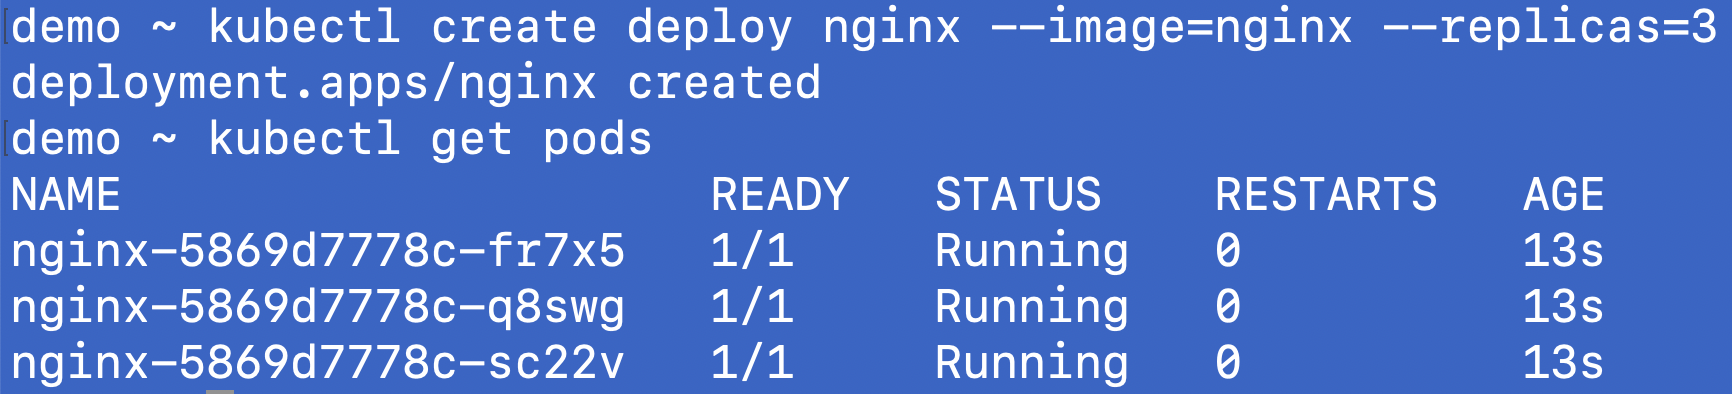
Let’s try to deploy a sample deployment and a service.
demo ~ kubectl create deploy nginx --image=nginx --replicas=3
deployment.apps/nginx created
Expose as a service
demo ~ kubectl expose deploy/nginx --port 80 --type NodePort
service/nginx exposeddemo ~ kubectl get svc
NAME         TYPE        CLUSTER-IP       EXTERNAL-IP   PORT(S)        AGE
kubernetes   ClusterIP   10.128.0.1       <none>        443/TCP        67m
nginx        NodePort    10.128.194.186   <none>        80:32608/TCP   15s
demo ~ kubectl get nodes -owide
NAME                       STATUS   ROLES    AGE   VERSION   INTERNAL-IP       EXTERNAL-IP   OS-IMAGE       KERNEL-VERSION      CONTAINER-RUNTIME
vcluster-private-node      Ready    <none>   17m   v1.32.0   159.223.206.108   <none>        Ubuntu 25.04   6.14.0-23-generic   containerd://2.0.5
vcluster-private-node-02   Ready    <none>   17m   v1.32.0   143.198.111.118   <none>        Ubuntu 25.04   6.14.0-23-generic   containerd://2.0.5
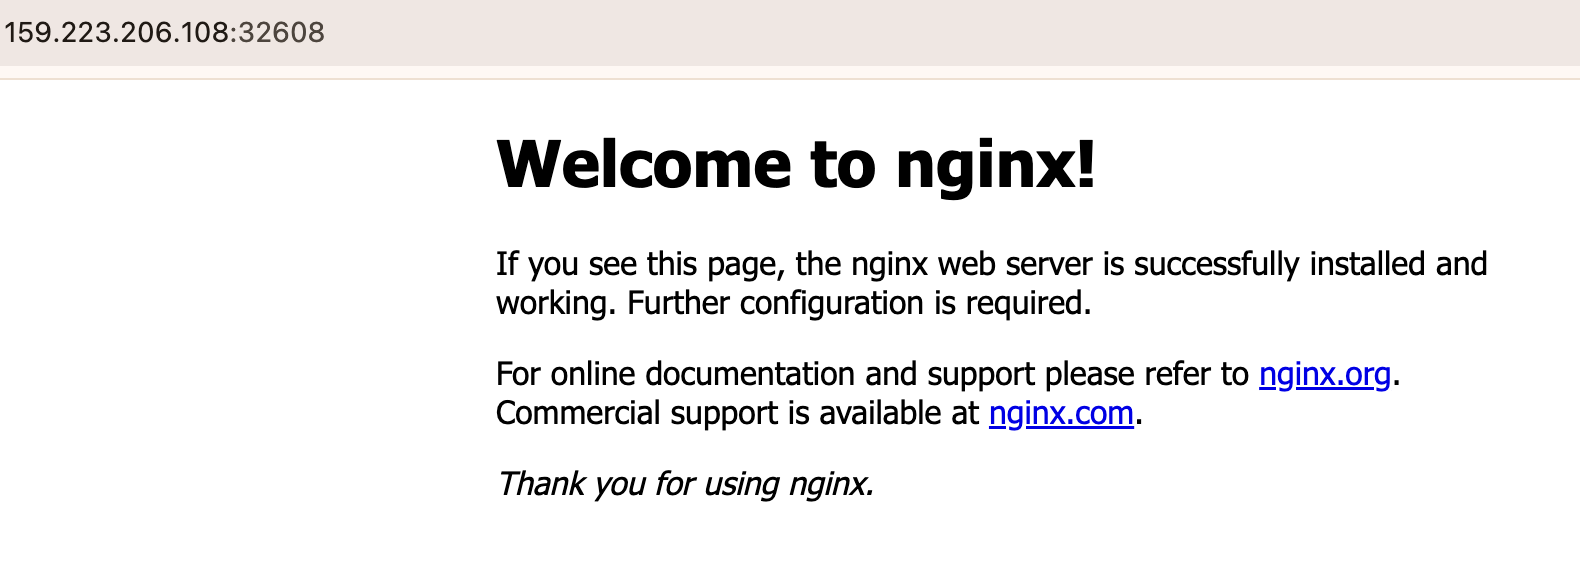
The cluster is running and able to deploy the workloads too.
You can simply update the Kubernetes version of the cluster by updating the version in the vcluster.yaml file. The current version is v1.32.0, let’s update it to v1.33.0
controlPlane:
  statefulSet:
    image:
      tag: v1.33.0
Run the following command:
vcluster create --upgrade my-private-vcluster -n vcluster-my-private-vcluster -f vcluster.yaml
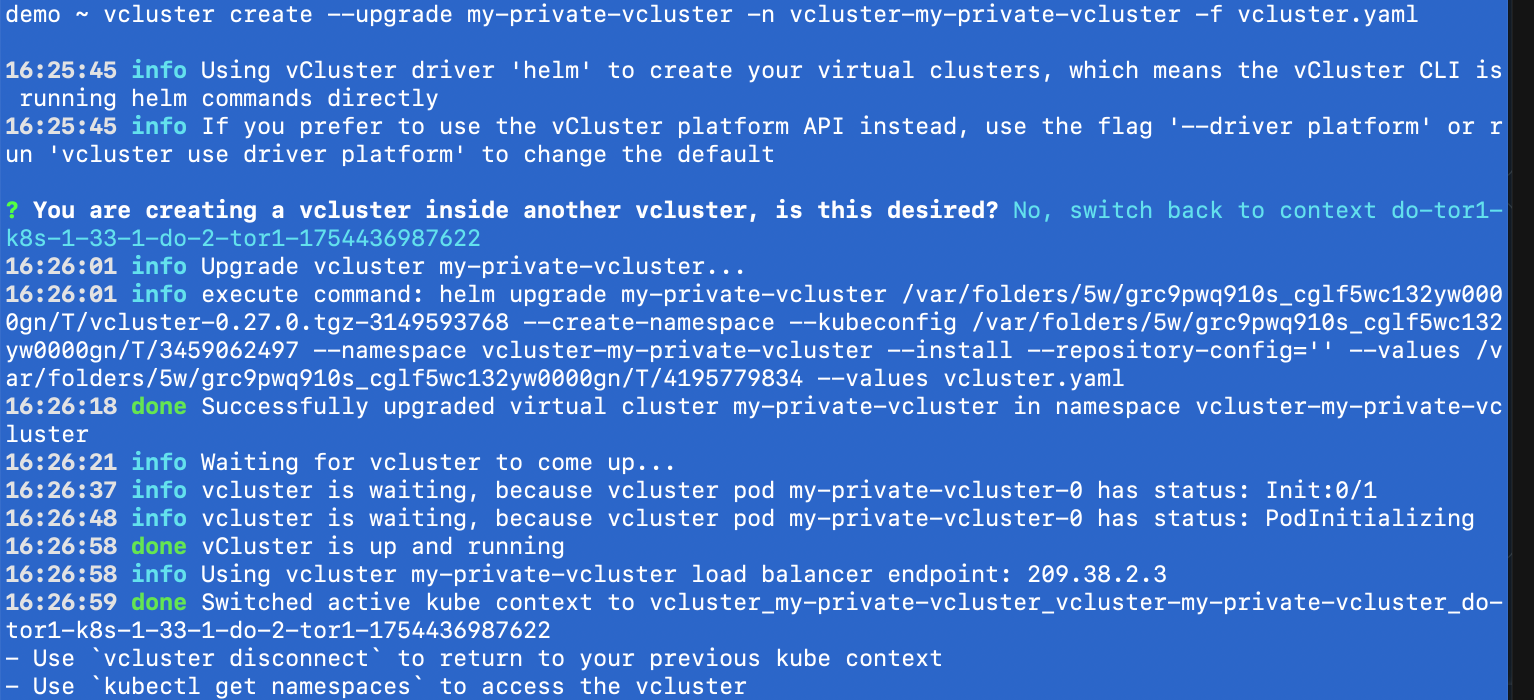

That's the beauty, the Kubernetes upgrades have become painless and teams can individually upgrade their vClusters.
vcluster.loft.sh/skip-auto-upgrade=true
As teams scale, tenancy needs evolve from “share the cluster” to “give me my own hardware.” Private Nodes make that journey seamless. Keep lightweight environments on shared nodes, move sensitive or high-performance workloads to private machines, and manage it all through the same vCluster experience. Shared, dedicated, or fully isolated, vCluster covers the spectrum.
Deploy your first virtual cluster today.
